
Treenet Starter mini-course
From knowing nothing, to lounging in your treenet.

This course systematically covers all the basics of making treenets, taking you from zero knowledge to being able to build your own treenet in a nice location with a view; where you can rest, read, or even work with a view!
This is the index post of all the content, tackle it all in order or skip around if you feel familiar enough with certain sections. Do note, I will try to fill every bit with tiny perky details, so skip sections at your own peril (say, you know the clove hitch, so you skip the knot post, but do you know why you should do an upside down clove hitch and how to lock it? Upside down constrictor? hmm? HMM?).
My YouTube and the Checklist are free. This course is paid. (except Section 1!)
You’re not paying for secrets, I don't want to keep secrets! You’re paying for structure.
So if you like solving puzzles, and don’t mind wasting some money on poor nets and time on figuring out the quirks – go ahead without this course! I genuinely won’t hide stuff from my videos. But here I will be able to list the details out clearly.
1. Why build a treenet
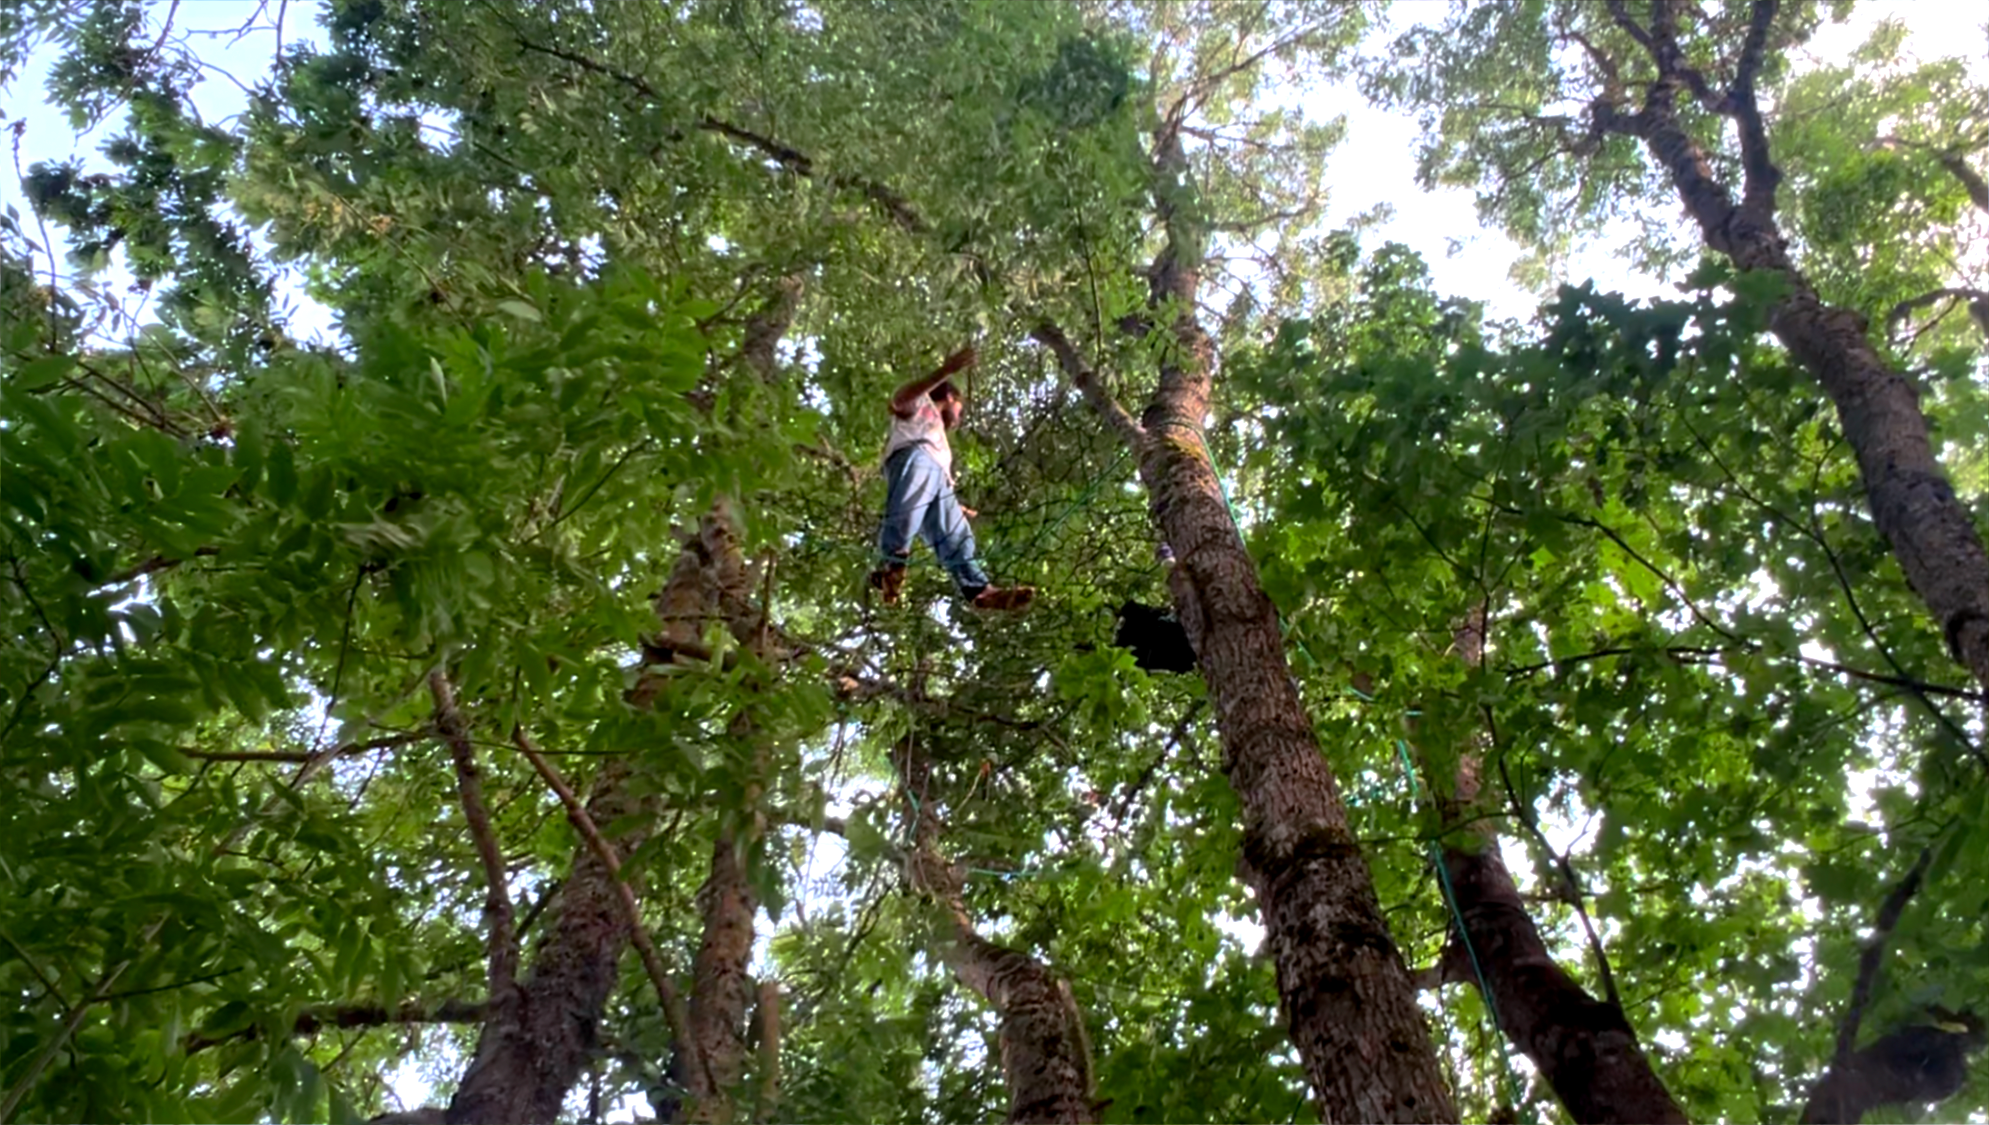
Public spaces are… public. Loud. Ants. Wet benches. But what if your "outdoor office" lived in the trees?
2. Minimum starter equipment
It is easy to say "12mm static climbing rope, 4mm nylon 550 paracord", but depending on where you live and your budget, this might just put you off of starting the net.
4. Picking the location
I will keep this short for now, as I want to get the first version of this course up as soon as I can.
8. Skeleton (or the first paracord weaves)
You have your perimeter set, and are now ready to start weaving.
10. Walls and doors (and windows)
In the simplest form, the wall process can be very similar to before. Add a full second perimeter higher up, weave that together with the floor perimeter, you've got your wall.